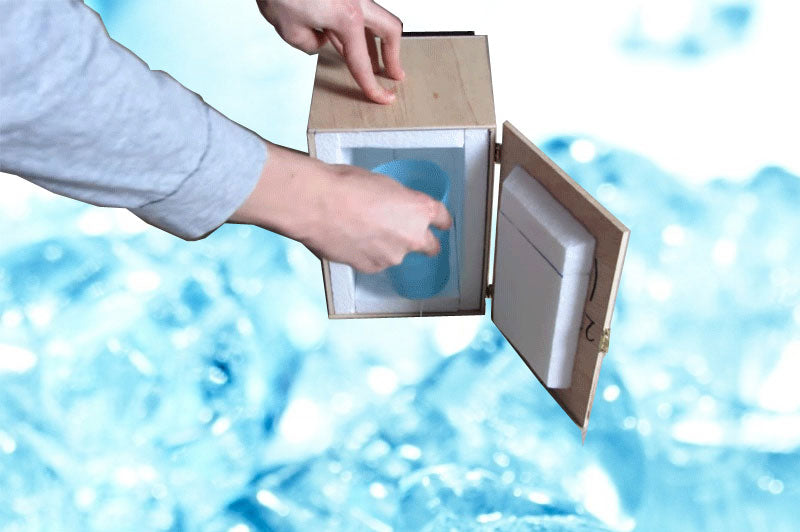
Maker: Marvin Rzok
I. Video
II. objective
In this tutorial I will show you how you can easily build a mini fridge. Such mini fridges are of course also available as USB gadgets. Since a USB port can only provide 5 watts, and a Peltier element works with an incredible efficiency of 10%, these fridges cool with a power of 0.5 watts. Since this is not enough for me, I would like to show you in this tutorial, how you can build a powerful mini fridge with simple means.
III. needed parts
- a wooden plate
- a styrofoam plate
- a processor cooler
- a Peltier element (66,1 Watt)
- a PC power supply
IV. Assembly
The very first thing we do is cut the outer walls out of the wooden panel, as shown in the picture.

Then we have to glue all the panels together. Gluing them together should not be too difficult, since all the panels are labeled. Of course, we must not glue the front panel, since we will use it as a door later!

Once the model is assembled, we can take the styrofoam plate and cut it into appropriate rectangles. We will now glue these rectangles to the walls of the refrigerator from the inside. When cutting the rectangles, make sure to cut out a window (4cm*4cm) for the Peltier element at the back wall.

Next, I added hinges and a latch.
In the next step, we glue the Peltier element to the heat sink with the thermal paste. Once this is done, we screw the complete fan onto the back of the fridge.

But somehow we have to supply the Peltier element with power. This is done by a PC power supply. I cut all remaining cables except for a yellow, red and black one.

The last step is the wiring, then the refrigerator is ready. We connect the black cable of the power supply with the black cable of the Peltier element and the black cable of the fan. We connect the yellow cable of the power supply to the red cable of the Peltier element and the red cable of the power supply to the red cable of the fan.

Now our refrigerator is ready and we can test it. My refrigerator can cool drinks to minus degrees.


